How to Create the Perfect Campfire for Roasting Food and Telling Stories
Posted by Staff Writer on 4th Aug 2024
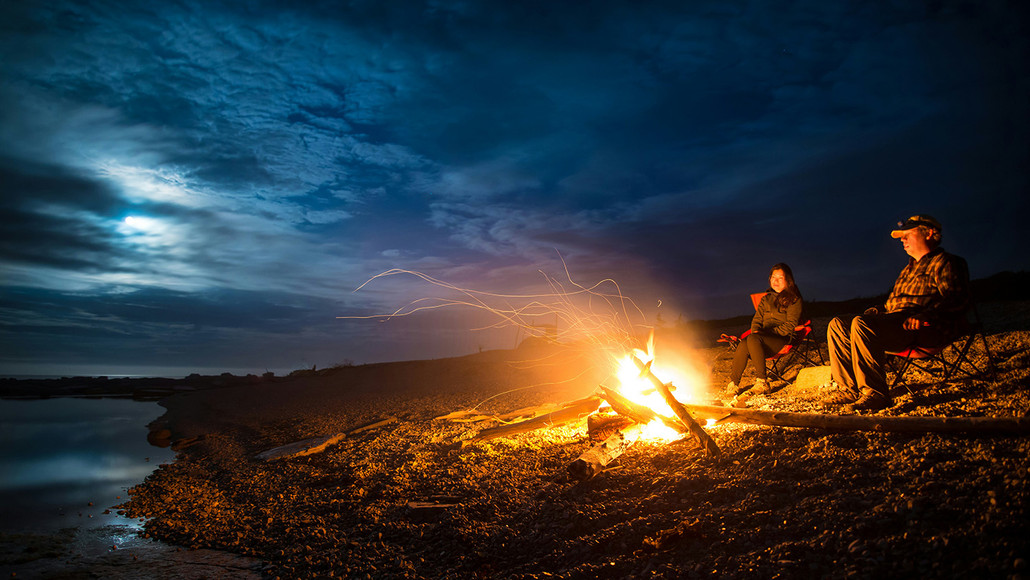
There’s something magical about gathering around a campfire, roasting food on a stick, and sharing stories under the stars. It’s a tradition that brings people together, creates lasting memories, and adds a touch of adventure to any camping trip. But to truly enjoy these moments, you need to know how to build the perfect campfire. In this blog post, we’ll guide you through the steps to create a campfire that’s ideal for roasting marshmallows, cooking hot dogs, and spinning tales that will be remembered for years to come.
Step 1: Choose the Right Location
Before you start building your campfire, it’s important to pick the right spot. Most established campsites have designated fire pits, which are the safest and most convenient option. If you’re in a more remote location, look for a flat, open area that’s at least 15 feet away from tents, trees, and other flammable materials. Clear the ground of any leaves, sticks, or debris, and make sure you’re not building your fire directly under low-hanging branches.
Step 2: Gather Your Materials
To build a successful campfire, you’ll need three types of fuel: tinder, kindling, and firewood.
- Tinder: These are the small, dry materials that catch fire easily and help get your fire started. Good examples include dry leaves, pine needles, bark, or small twigs. You can also use natural fire starters like fatwood, which is available at Fort Robin.
- Kindling: Once your tinder is burning, you’ll need kindling to help the fire grow. Kindling consists of slightly larger sticks and twigs, typically about the thickness of your thumb.
- Firewood: Finally, you’ll need larger pieces of firewood to keep the fire going. Look for logs that are dry and seasoned, as wet wood can be difficult to burn and produces more smoke.
- Camp Fire Tools: Keep your axe and cooking skewers available for cutting firewood to size and cooking great food over hot coals.
Step 3: Build Your Fire
There are several ways to build a campfire, but for roasting food and storytelling, a teepee or log cabin structure works best. Here’s how to build each:
Teepee Fire
- Start by placing a bundle of tinder in the center of your fire pit.
- Arrange kindling around the tinder in a cone or teepee shape, leaving an opening on one side for airflow and easy ignition.
- Continue adding layers of kindling, gradually increasing the size of the sticks.
- Once the kindling is burning well, carefully add a few pieces of firewood to keep the fire going.
Log Cabin Fire
- Begin by placing a bundle of tinder in the center of your fire pit.
- Create a square frame around the tinder using small logs or thick sticks, stacking them in a crisscross pattern (like building a log cabin).
- Add a layer of kindling on top of the tinder, then continue building the log cabin by adding larger pieces of wood on each layer.
- Light the tinder and let the fire grow, gradually adding more firewood as needed.
Step 4: Light Your Fire
Now that your fire is built, it’s time to light it. Using a match or lighter, ignite the tinder in several places. If you’re having trouble getting the fire started, a fire starter from Fort Robin, such as Komodo Fatwood, can make the process easier. Once the tinder catches, gently blow on the fire to help it grow. The kindling will soon catch fire, and your campfire will start to build strength.
Step 5: Maintain the Fire
A good campfire requires regular maintenance. As the fire burns down, add more firewood to keep the flames going. Be mindful not to add too much wood at once, as this can smother the fire. Keep a bucket of water or a shovel full of dirt nearby to extinguish the fire quickly if needed.
Step 6: Roast and Enjoy
Once your fire is burning steadily and has a good bed of embers, it’s time to start roasting. Grab your favorite roasting sticks and skewers, and enjoy some classic campfire treats like marshmallows, hot dogs, or even vegetables. The Extendable Stainless Steel Skewers available at Fort Robin are perfect for roasting over an open flame, and they’re easy to clean and pack away.
Step 7: Tell Stories and Create Memories
With your fire crackling and everyone gathered around, it’s the perfect time to share stories. Whether you’re telling spooky tales, reminiscing about past adventures, or making up new ones, the campfire setting adds a special atmosphere that can’t be replicated. Encourage everyone to participate, and don’t forget to pass the marshmallows!
Step 8: Extinguish the Fire Safely
When the night winds down and it’s time to head to bed, it’s important to extinguish your campfire properly. Douse the fire with water, making sure to soak all the embers. Stir the ashes with a stick or shovel to ensure everything is completely extinguished. If you don’t have water, you can also use dirt or sand to cover the fire. Never leave a campfire unattended, and always make sure it’s completely out before you go to sleep.
Building a campfire is more than just a way to cook food—it’s a time-honored tradition that brings people together. With the right preparation and a little know-how, you can create a campfire that’s perfect for roasting food and telling stories. Whether you’re a seasoned camper or a first-timer, the products available at Fort Robin can enhance your experience and help you make the most of your time outdoors. So gather your friends and family, light up the night, and create memories that will last a lifetime. Happy camping!

